Taking a screenshot on your Mac can be super handy, whether you’re working on an iMac, a MacBook Air, or even a Mac Mini. If you’re wondering How To Take Scrolling Screenshot On Mac and Macbook or just want to know the basics, you’ve come to the right place! Let’s dive into the different ways you can capture what’s on your screen.
Quick Guide:
- ◉ Press Cmd + Shift + 3 to capture the entire screen.
- ◉ Press Cmd + Shift + 4 to capture a selected area.
- ◉ For a specific window, press Cmd + Shift + 4, then hit Spacebar.
Step By Step How do you take a screenshot on an apple laptop
1
Capture the Entire Screen (Cmd-Shift-3)
If you want to grab everything you see:
- ◉ Just press Command (⌘) + Shift + 3 at the same time.
- ◉ Your Mac will snap a screenshot of the entire screen.
- ◉ Look for a small thumbnail in the bottom-right corner; click it if you want to make edits before it saves to your desktop.

2
Capture a Portion of the Screen (Cmd-Shift-4)
Need to take a screenshot of just a specific area? Here’s how:
- ◉ Hit Command (⌘) + Shift + 4. Your cursor will change to a crosshair.
- ◉ Click and drag to highlight the area you want to capture, then let go.
- ◉ The thumbnail will pop up again for any quick edits you want to make.

Pro Tips:
- ◉ Press Spacebar to move your selection around.
- ◉ Hold Shift to adjust only one side of your selection.
- ◉ Use Esc if you change your mind.
3
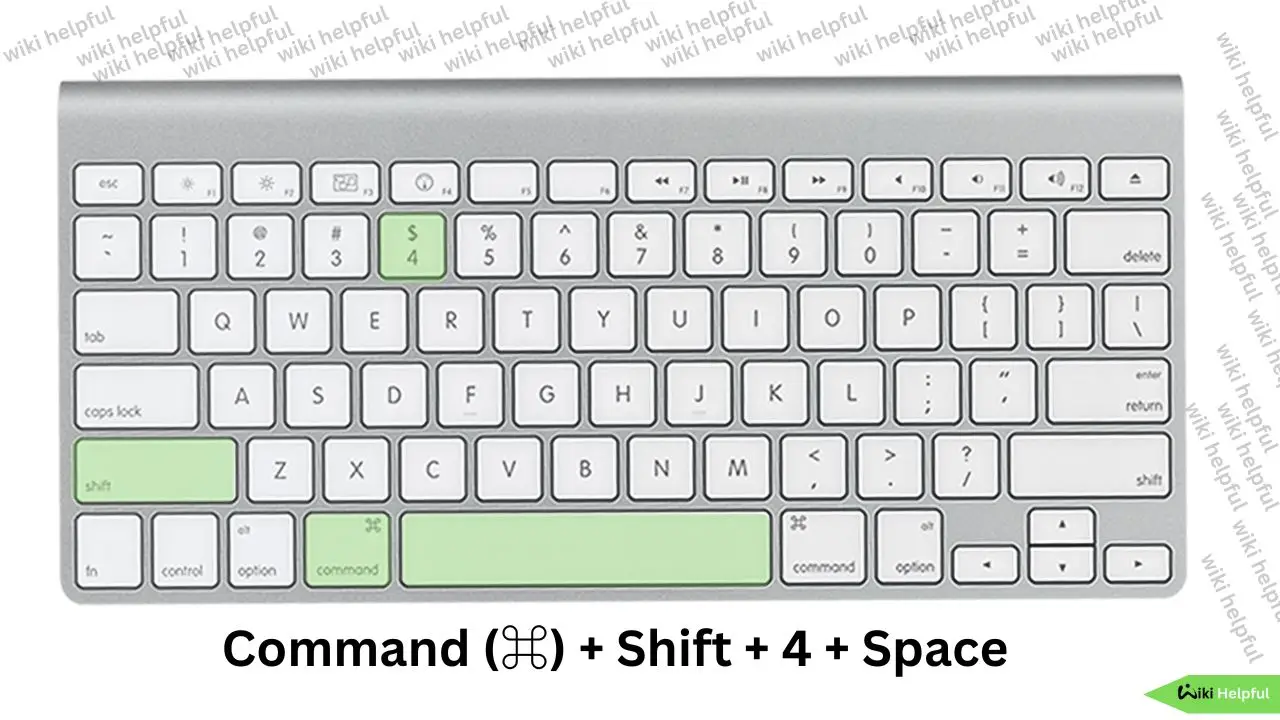
Capture a Specific Window (Cmd-Shift-4 + Space)
Want to capture a specific window? This one’s for you:
- ◉ Press Command (⌘) + Shift + 4, then tap the Spacebar.
- ◉ Your cursor will turn into a camera icon. Click on the window you want to screenshot.
- ◉ If you want a cleaner look, hold Option to capture it without the shadow.

4
Use the Advanced Screenshot Tool (Cmd-Shift-5):
For even more control, try this:
- ◉ Press Command (⌘) + Shift + 5. A neat panel will pop up with options.
- ◉ You can select to capture the full screen, a window, or a specific area.
- ◉ You can even record your screen! The Options button helps you choose where to save your screenshots and whether to include your cursor.

5
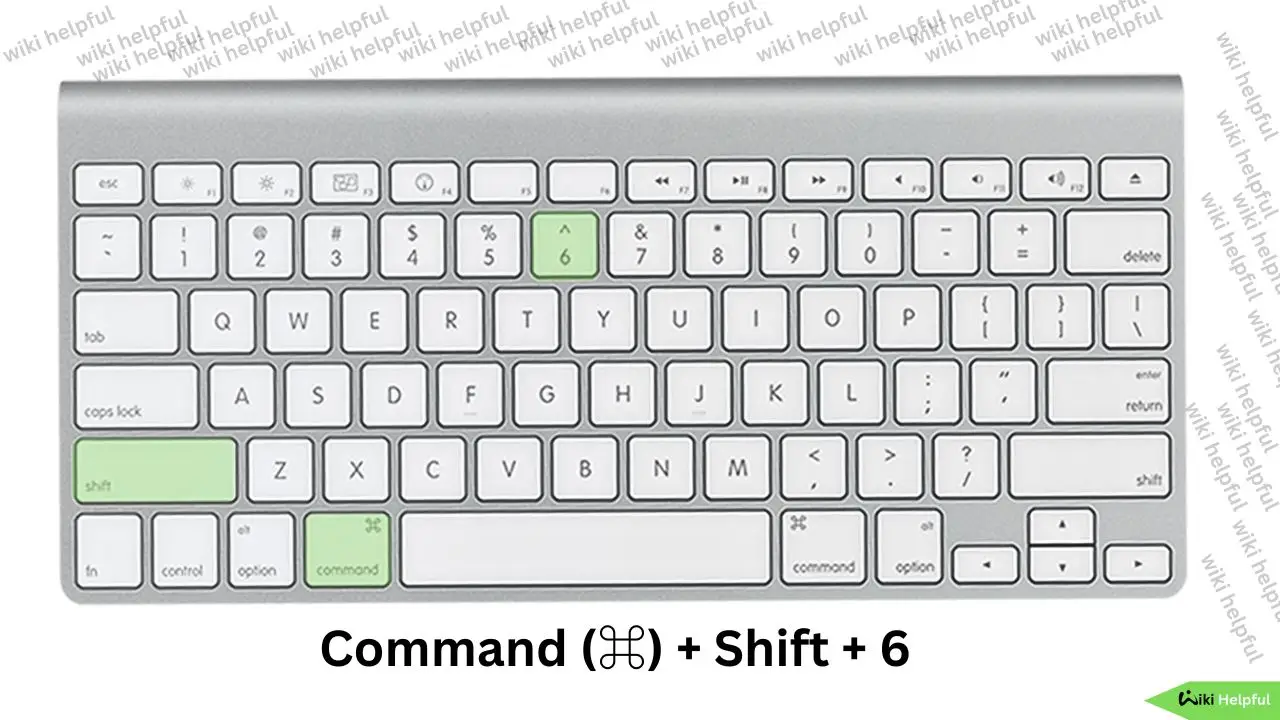
Taking a Screenshot of the Touch Bar (Cmd-Shift-6):
If you’re using a MacBook with a Touch Bar:
- ◉ Just hit Command (⌘) + Shift + 6 to capture whatever’s displayed on it.

Managing Your Screenshots:
By default, your screenshots will save as .png files on your desktop. If you’re curious about how to access screenshots on your Mac, just head to your desktop! Want to change where they go? You can easily adjust this in the Cmd-Shift-5 tool. And if you want to make quick edits, click on that thumbnail that appears right after you take your screenshot.
Wrapping It Up:
Now that you know how to take a screenshot on a Mac, whether it’s an iMac or a MacBook Air, you can easily capture those important moments. Whether you’re figuring out how to take a picture on Mac or learning how to screenshot on an iMac, these tips will have you snapping screenshots like a pro in no time!


